4 Exercises to Improve Your Skydiving Arch Pose
Skydiving Training
Posted by: Wisconsin Skydiving Center 2 years ago
When you think of skydiving, exercise and yoga probably aren’t the first things that come to mind. Jumping out of an airplane is all about the adrenaline rush, the extreme experience, and the thrill. But the truth of the matter is, your jump will go much smoother if you practice ahead of time.
Having a good, safe skydive is all about holding an arch position; skydiving arch exercises will help you achieve that perfect pose when it matters most. How can I improve my skydiving arch, you ask? A great way to prepare for skydiving is to work out and stretch. Your body will be able to perform much better in the sky if you are loose and limber.
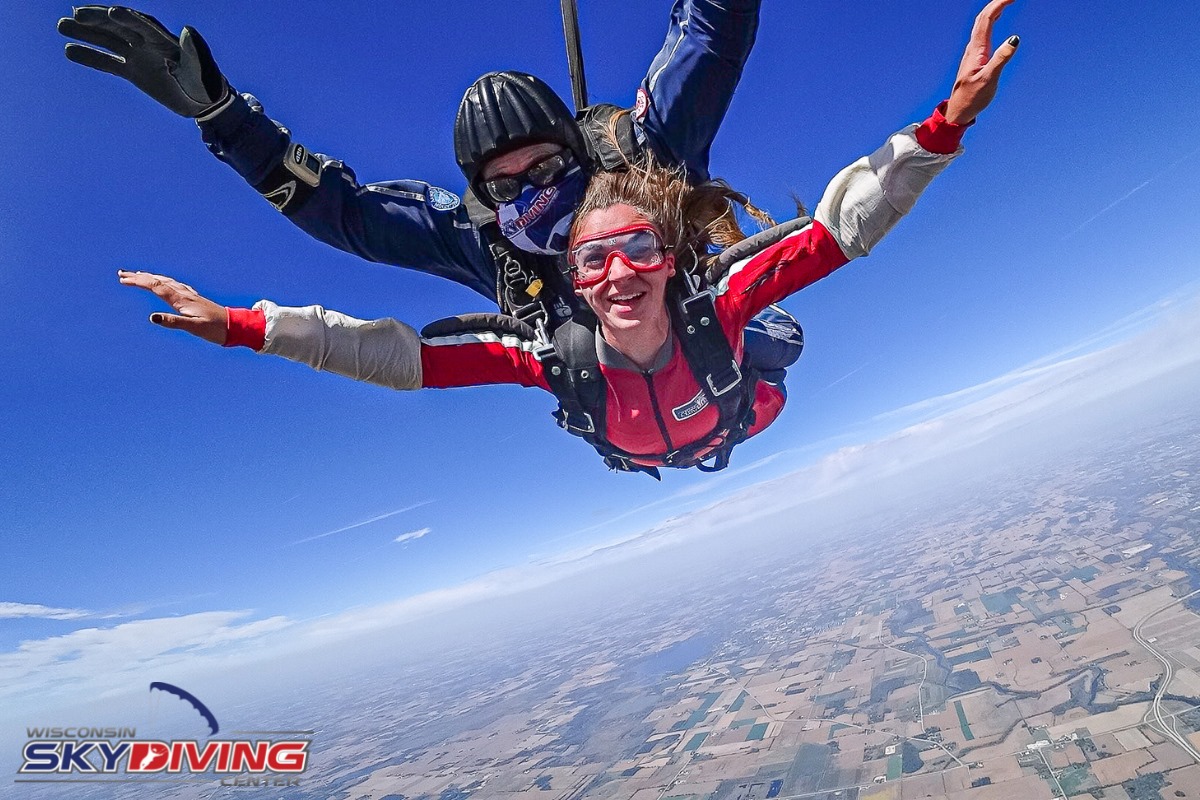
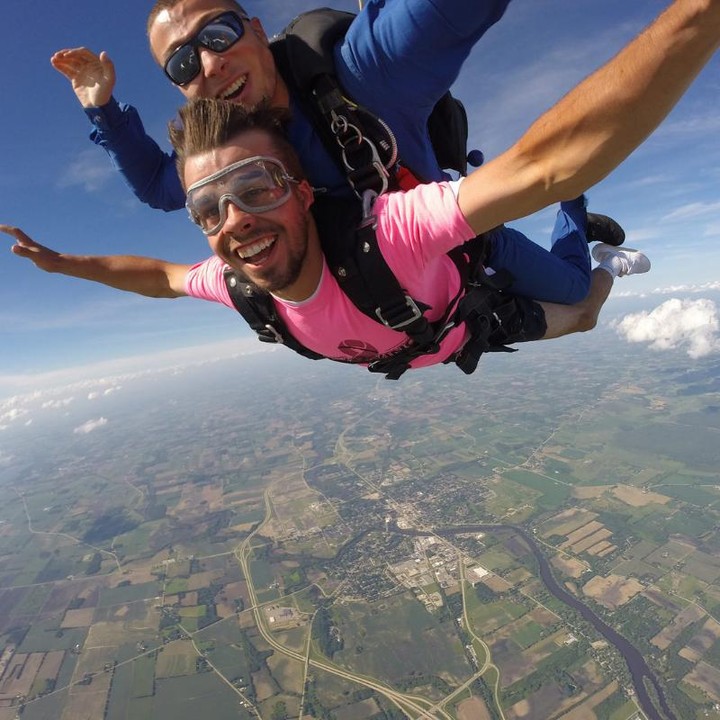
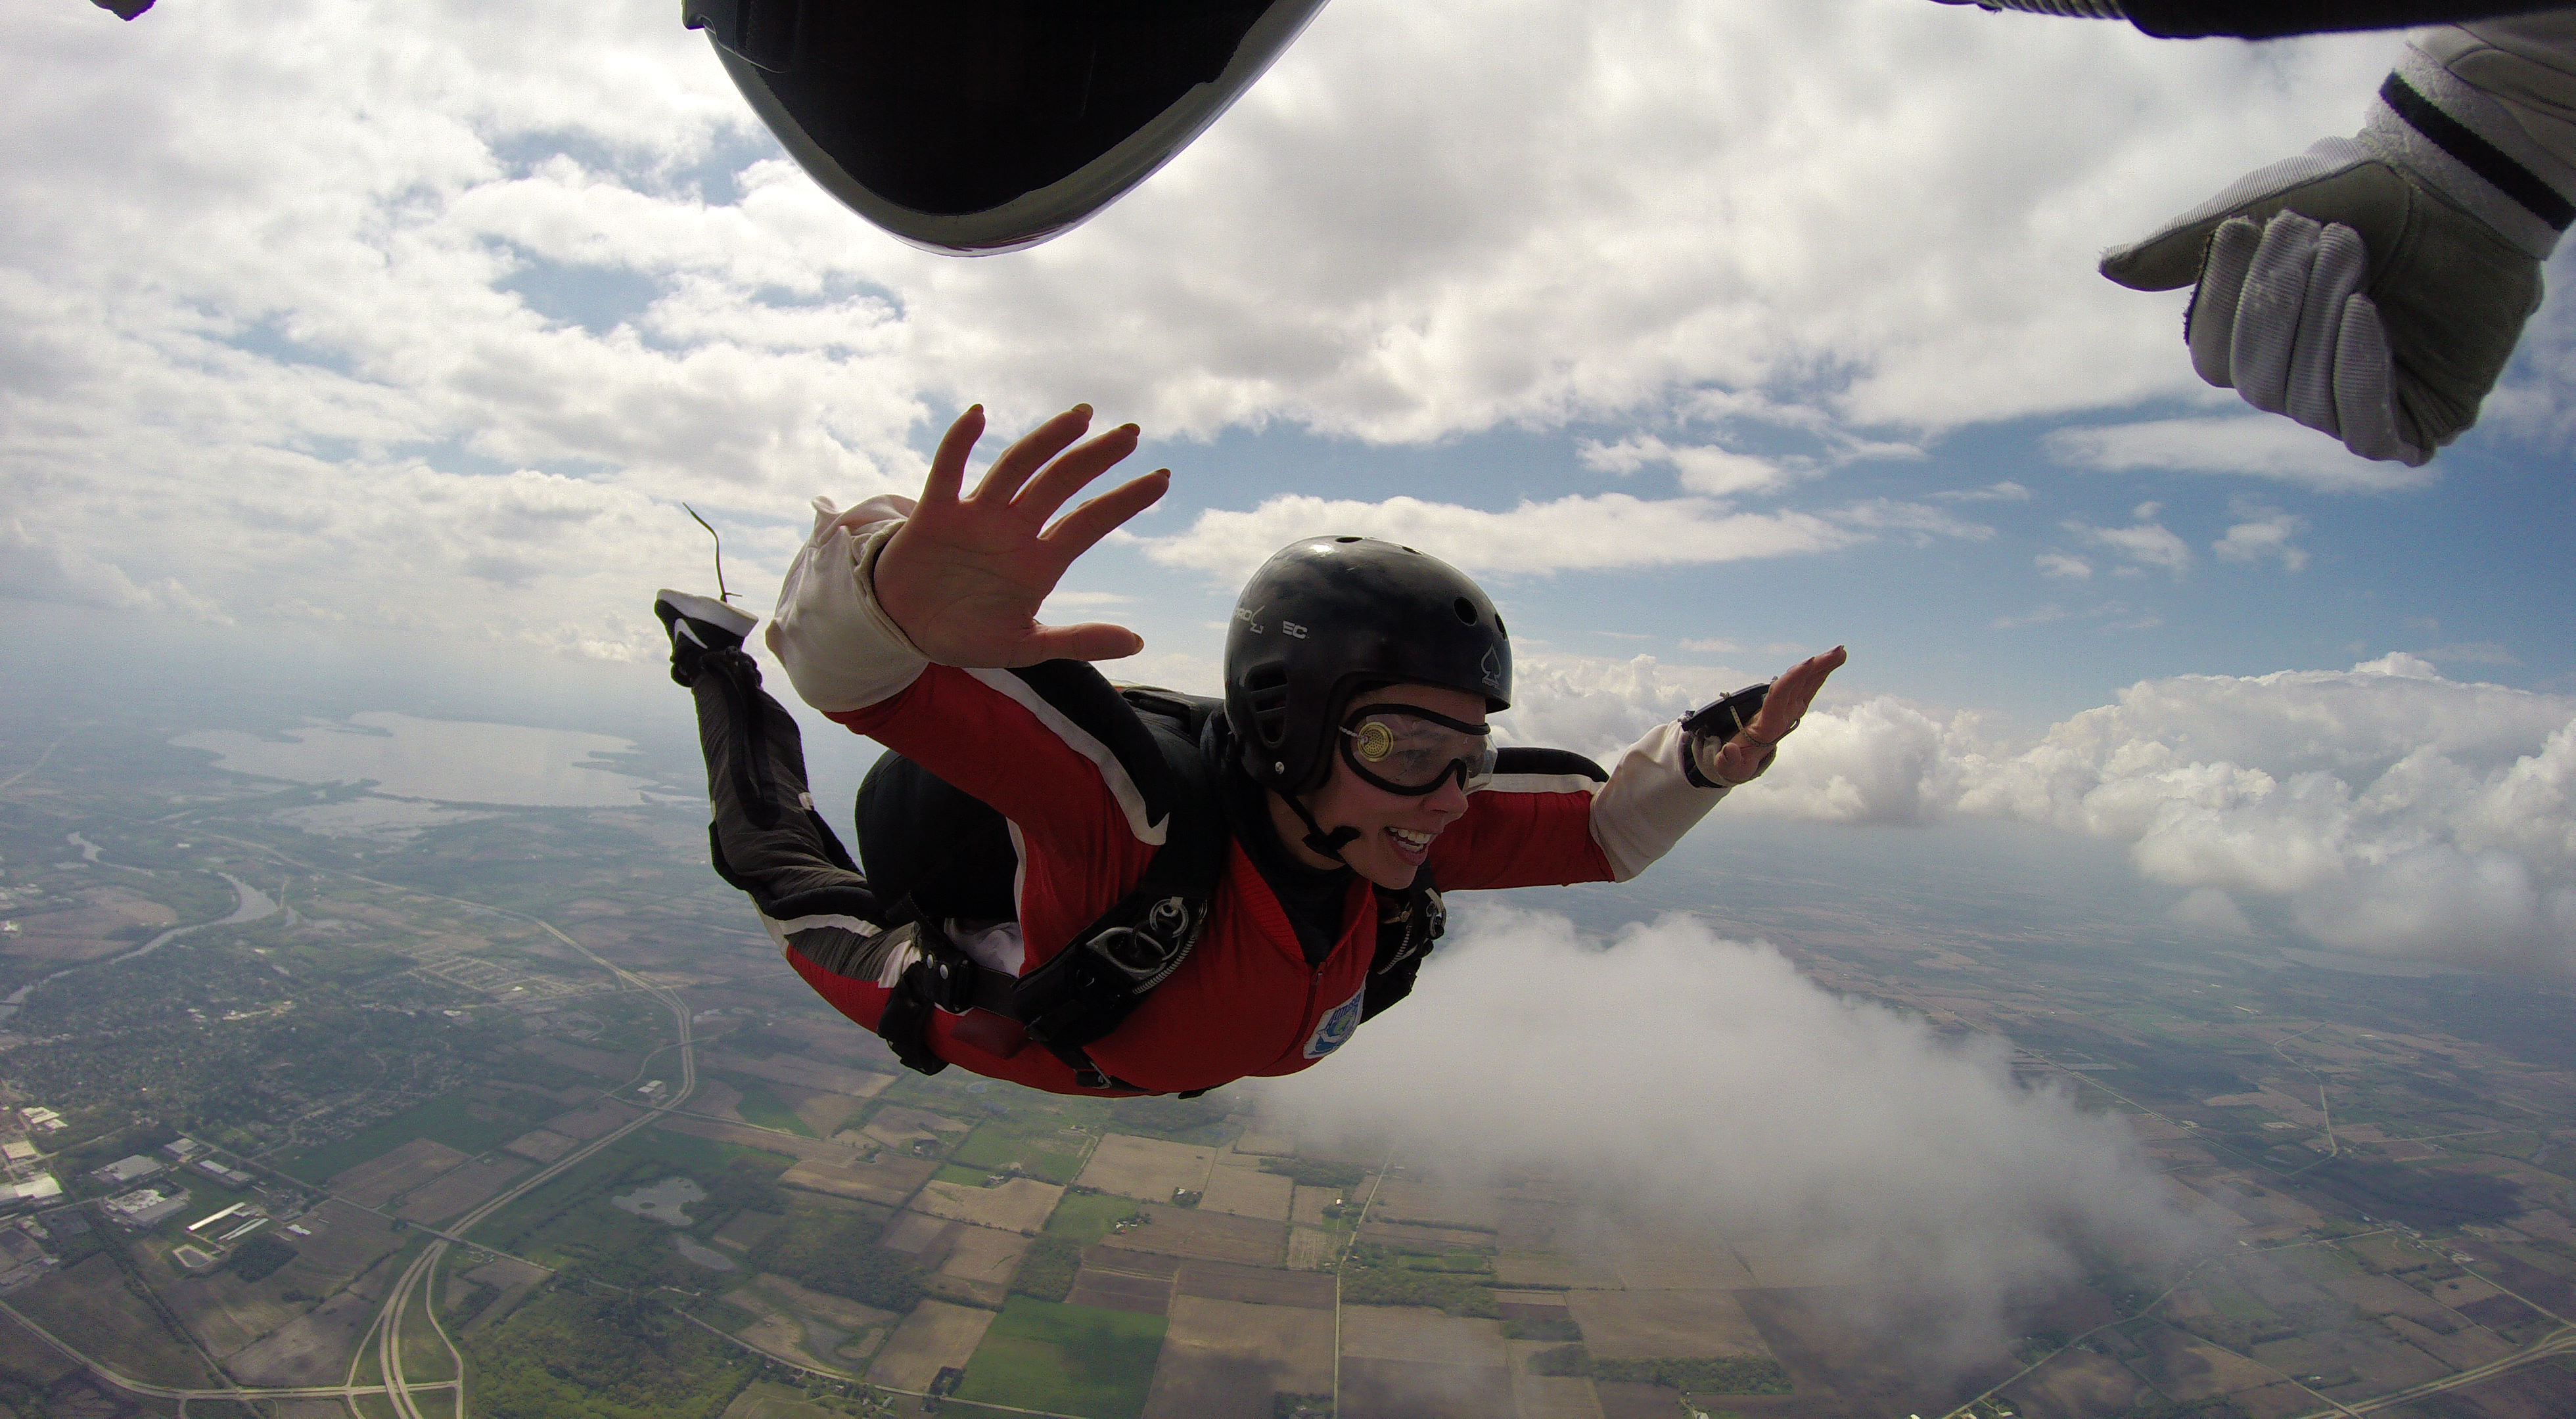
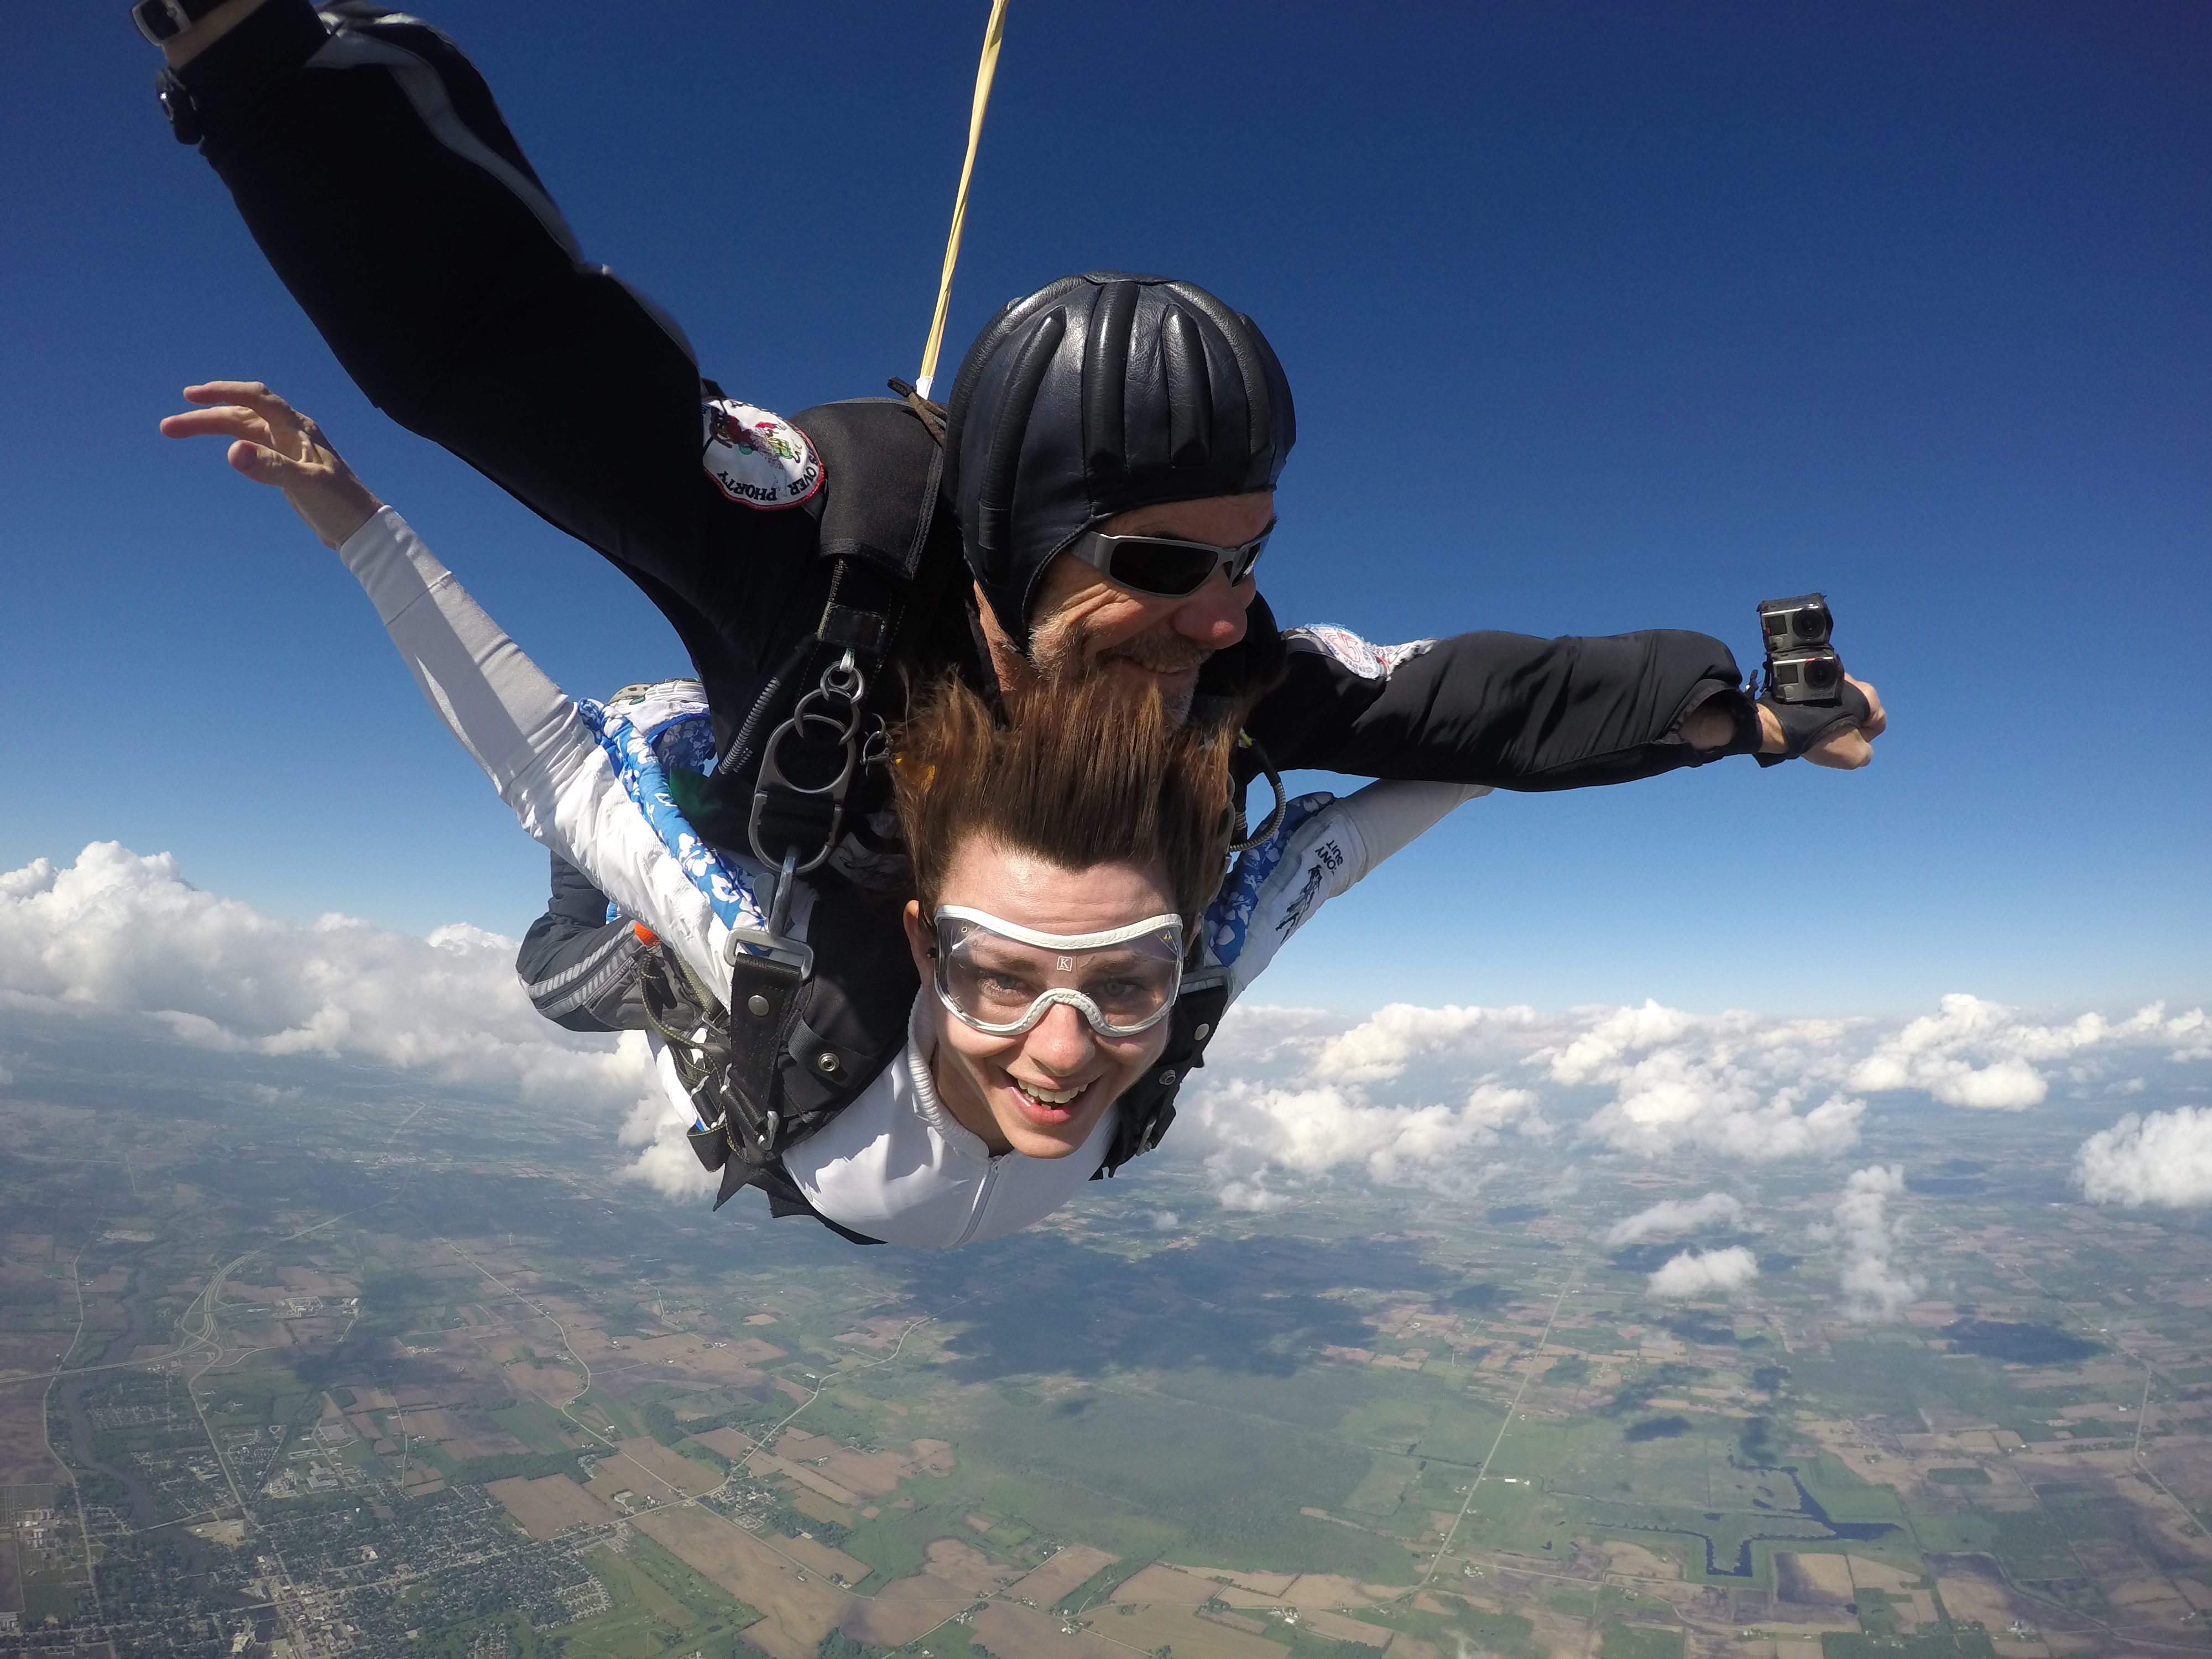
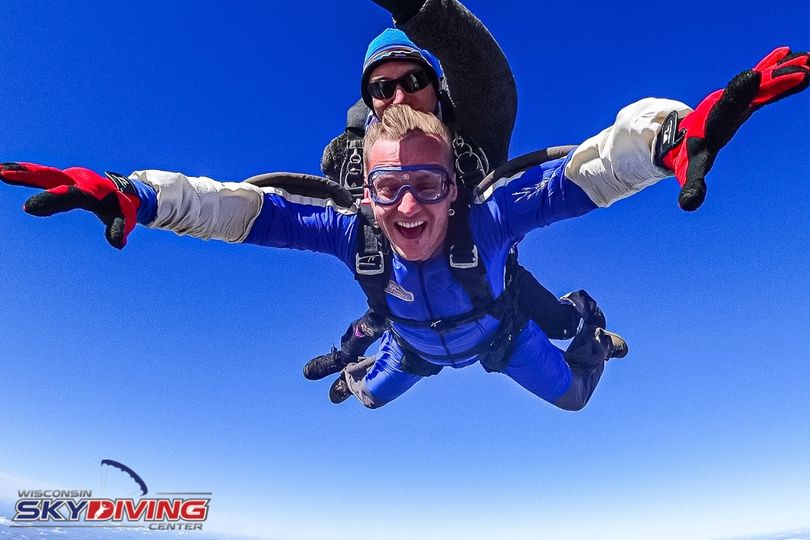
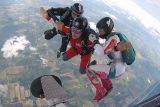
So, how do you arch in freefall? The best arch starts in the hips and continues out through the thighs and shoulders. When freefalling in a belly-to-earth orientation, your hips should be the lowest point of your body. Basically, you should look like a giant banana falling through the sky. This position is crucial because it will stabilize you in freefall by allowing the air to pass evenly over your entire body.
If that sounds like no position you’ve ever found yourself in before, here are a handful of exercises that will get you ready to nail the arch on your big day!
1. HIP STRETCHES
It’s all in the hips, baby! Your hips are the most important part of your arch position. In order to have a solid arch, you are going to need to be able to push your hips out in front of the rest of your body. This may be the only time in your life you actually want to be like Steve Urkel.
A great way to prepare for this is to stretch out your hip flexors. The looser those are, the more flexibility you will have in that all-important area. The first step to this stretch is getting down on one knee like you’re proposing (did we mention we do those, too?).
Next, keeping your hips facing forward and your back straight, slowly push your hips forward until you feel a stretch in the thigh and hip you are kneeling on. Now switch legs and do it again!
Loosening up your hip flexors will make it easier for you to push your hips forward and your legs and chest back. Even if this is all you can do, you’re already on your way to having an outstanding arch!
2. THE SUPERMAN
Who wouldn’t want to do a workout called “the superman” before going skydiving? If there’s ever been an exercise made for our sport, it’s this one.
To do the superman, simply lie down on your stomach.
You were hoping that was it, weren’t you? Now, you may want to do this next part on a rug or yoga mat to protect your hip bones and ribs. From your stomach, lift your chest, shoulders, and thighs off the ground as high as they will go. Raise your arms straight out in front of you and squeeze your muscles through your back and butt. Hold this position for a few seconds, rest for a few seconds, and repeat until you feel some fatigue in your lower back and shoulders.
Strengthening your core and lower back will help you have the stamina to hold your arch position for the full minute of freefall. Of course, 120 mph wind pushing up at you makes it a little easier once you’re actually in the air, but that only makes this workout even more effective. Another bonus to this exercise is that it basically IS the arch position you will be using on your skydive. Double win!
Pro Tip: to make this exercise more fun, make a flying noise every time you lift off.
3. GLUTES
As if skydiving wasn’t already awesome enough, now it can help shape your derriere, too?!? On the flip side of hip flexibility (literally), is glute strength. You need a little bit of muscle to take advantage of all of that range of motion you opened up with your stretching.
A great way to strengthen your gluteus maximus is to do simple body-weight squats. With your feet hip-width apart, center your weight in your heels and slowly lower your body down as if you were going to sit in a chair. When your knees are at about a 90-degree angle, squeeze through your butt and thighs to straighten back up to a standing position.
Remember to make sure your knees are tracking out above your toes and you are pressing through your heels on the way back up. Do a few sets of 10 every day and you’ll feel some changes in no time!
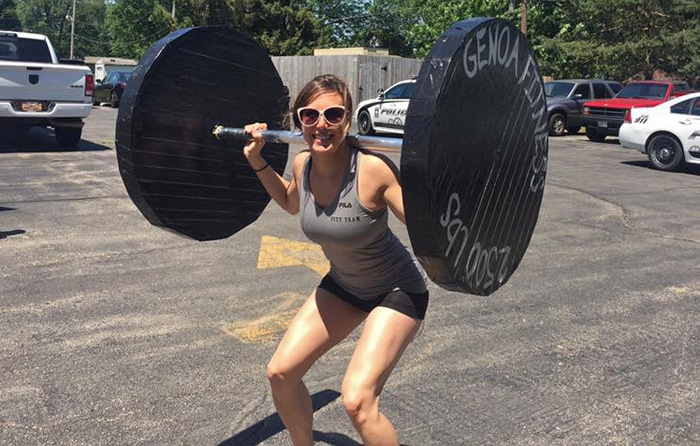
Glute strength is important because your butt muscles are what press your hips forward into that arch position we keep going on about. Just squeezing your glutes will move your hips forward without even trying. (Yeah, we know you just tried it.)
4. CHEST OPENERS
If you’ve ever seen a skydiving video, you may be wondering, “why do you put your head back when skydiving?” That’s because the arch starts in the hips, but it ends in the head. For the arch to be fully effective, your whole body has to be in on it. By pulling your shoulders and head back at the same time you press your hips forward, it will complete the U-shape that makes up a true arch position.
In order to make it easier to complete your arch, stretch out the muscles in your chest so that it’s more comfortable for you to pull your shoulders back. You can do this by standing in a door frame and placing your palm against the trim at about head height. Stand so that both your armpit and elbow make a 90-degree angle like you’re signaling a turn on a bicycle. Slowly press your chest forward until you feel a nice stretch across your body. Do this on both sides!
Having flexibility in the muscles on the front of your body makes it a lot easier for you to bend in the ways that form a good arch. The last thing you want is to feel tightness and discomfort when you’re supposed to be enjoying yourself!
PRACTICE MAKES PERFECT
Once you’ve mastered all of these exercises, you can move on to practicing your actual arch. You can do this while standing by slightly bending your knees, pressing your hips forward, angling your head back, and squeezing your shoulder blades together with your elbows bent. If this still feels a bit awkward, don’t worry. Your instructor will go over all this with you until it’s perfect before they take you up in the airplane!
We can’t wait to see all of your practice pay off! Book your first jump and show us your skills! Blue skies!
Categories:
You May Be Interested In:
How Long Does A Skydiving License Last?
1 year ago by Wisconsin Skydiving Center
Skydiving License 101: Understanding Different Types and Their Requirements
1 year ago by Wisconsin Skydiving Center

First Skydive – Tandem Skydive or Solo Skydive?
1 year ago by Wisconsin Skydiving Center
All About AFF Skydiving Training and How We Do It Better
2 years ago by Wisconsin Skydiving Center